
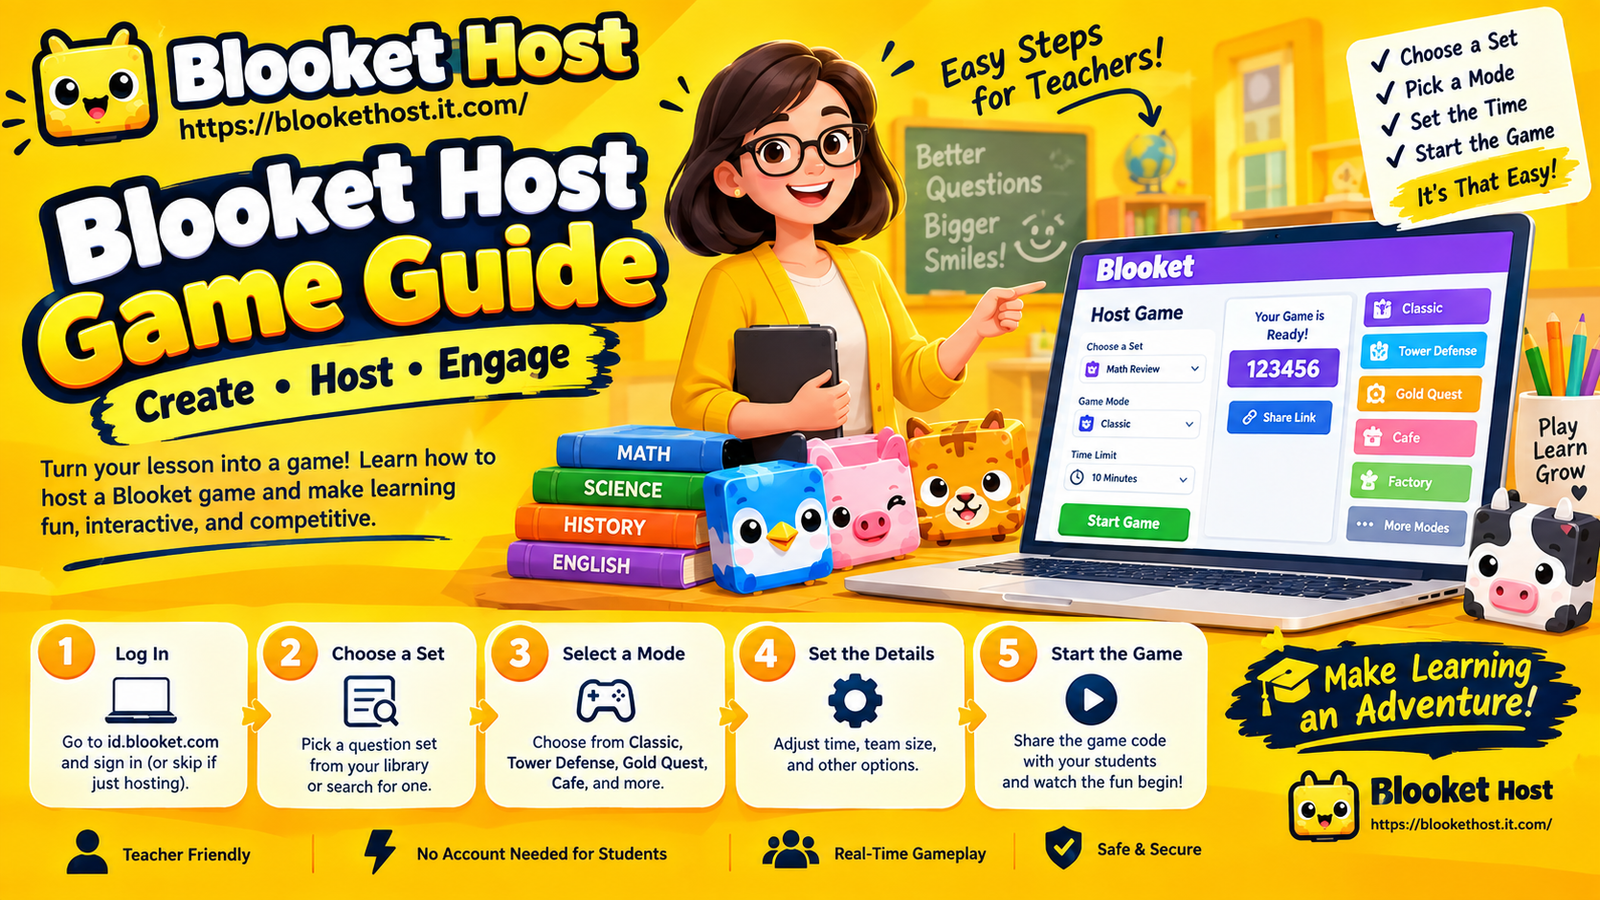
If you’re a teacher looking to bring some energy into your classroom, learning how to host a Blooket game is one of the easiest ways to turn review questions into something students actually look forward to. As the host, you’re the one in control — you pick the question set, choose the game mode, set the timing, and watch everything unfold from a private dashboard that only you can see. This guide breaks down exactly how to set up and run your first hosted game, plus a few tips to make it run smoothly from the first question to the last.
What It Means to Host (vs. Play)
Hosting is a completely different role from playing. As a host, you’re not answering questions — you’re running the session: selecting the content, controlling pacing, and monitoring the live leaderboard while your students compete against each other in real time. This split matters because the two roles live in different places: hosting starts from your teacher account dashboard, while students join separately using a code, with no account required on their end.
Step 1: Log In to Your Host Account
Before you can host, you’ll need an account. Head to the login page and sign in with your Email, Google, or Clever credentials, depending on how your account was originally set up. Once logged in, you’ll land on your dashboard, where hosting tools, saved question sets, and account settings all live.
If you don’t have an account yet, you’ll need to create one first — hosting specifically requires an account, unlike joining, which doesn’t.
Step 2: Choose or Create a Question Set
From your dashboard, you have two main options:
- Use an existing set — either one you’ve built previously, saved from a search, or pulled from a public library of pre-made sets covering a huge range of subjects and grade levels.
- Build a new set — create your own questions from scratch if you want content tailored precisely to what you’re currently teaching.
If you’re hosting your first game, starting with an existing set is usually the faster path, letting you get comfortable with the hosting process itself before investing time in building custom content.
Step 3: Pick a Game Mode
This is where a lot of the classroom energy actually comes from. Different modes change the entire feel of the session:
- Fast-paced, individual modes work well for quick review sessions where you want students moving briskly through material they already have a decent handle on.
- Strategy-based modes add a resource management layer on top of the questions, which tends to engage students who enjoy a bit of extra decision-making beyond just answering correctly.
- Team-based modes shift the focus to collaboration, which can be a great fit for larger classes or when you want to encourage students to work together rather than compete individually.
If you’re not sure which mode fits your group, starting with a straightforward individual mode for your first hosted session is the easiest way to learn the hosting dashboard without also juggling a more complex mode’s mechanics.
Step 4: Set Your Game Options
Before launching, you’ll typically be able to configure a few settings:
- Timing — how long students have to answer each question.
- Question order — random versus sequential, depending on how you want the pacing to feel.
- Player limits — relevant for larger classes or if you’re splitting a group into multiple sessions.
- Mode-specific settings — some modes offer additional customization, like power-up frequency or team size.
Taking a minute to review these settings before starting saves you from realizing mid-game that the timing is too fast (or too slow) for your particular group.
Step 5: Launch and Share the Game Code
Once your settings are locked in, starting the game generates a live Game Code. This is what your students will use to join — sharing it is usually as simple as displaying it on a projector or writing it on the board.
Students head to the join page, enter this code, and appear in your lobby in real time. From your host dashboard, you’ll see the player list populate as students join, giving you a clear signal of when the class is ready to begin.
Step 6: Run the Game From Your Dashboard
Once you start the game, your host dashboard becomes your control center. From here, you can typically:
- Monitor live standings as students answer questions.
- See engagement in real time — who’s actively answering versus who might need a nudge.
- Control pacing in modes that allow host-driven timing.
- End the session whenever you’re ready, whether that’s after a set number of questions or once you feel the class has gotten enough review in.
This dashboard view is private to you — students only see their own player-side experience, not your host controls or the full standings in the way you can see them.
Tips for a Smoother First Hosted Session
A few small habits make a noticeable difference in how your first hosted game goes:
Test the code display before class starts. Make sure your Game Code is clearly visible on the screen you’ll be projecting, especially in larger rooms where back-row students need to read it clearly.
Choose a mode you understand well. Your first time hosting isn’t the moment to experiment with the most complex mode available — pick something straightforward so you can focus on managing the class rather than learning mechanics on the fly.
Set realistic timing. If your question set is challenging, generous timing keeps the game from feeling like a race that leaves slower readers behind.
Have a backup plan for connection issues. Classroom WiFi can get congested with an entire class joining simultaneously — knowing how to quickly troubleshoot (refreshing, switching browsers) keeps a technical hiccup from derailing the whole session.
Preview your question set beforehand. Especially with sets built by others, a quick review ensures the content and difficulty level actually match what you’re teaching.
The Bottom Line
Once you’ve hosted a session or two, the whole process becomes second nature: log in, pick a set, choose a mode, launch the code, and run the game from your dashboard while your class competes in real time. The learning curve is genuinely short, and the payoff — turning review time into something students are actually excited about — tends to make the setup time worth it from the very first session.